You know those times when you hear someone say, "This won't take long, only an hour or two?" and then you end up spending most of your day tackling a job that throws every problem in the book at you? Your situation defies the odds and unlike the average completion time for the project you end up adjusting, tweaking, cutting, drilling, adjusting some more, assembling, installing, re-installing, etc, etc, etc. To top it all off I even lost about 7 important pictures from my crazy camera that somehow "corrupted" photos I took!
I lost track at the amount of time I spent under the car today but the end result was extremely SATISFYING!

We will start from the beginning.
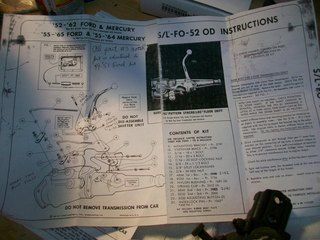
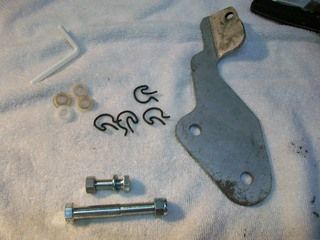
Since the old transmission on the bench was an excellent means of mocking up all of the parts for the Hurst Syncro Loc floor shifter, it was time to remove the stock Ford shifter rods and install the assembly. Easy breezy right?

After removing the original shifter arms and levers on the side of the case I installed the Hurst levers as pictured here:
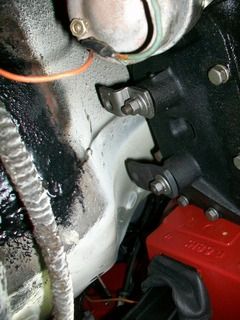
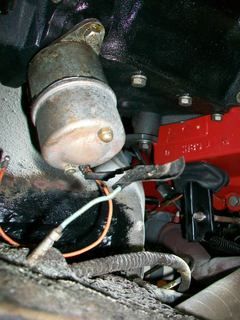
That part of course was pretty easy and went well. I made sure they were on the correct pivot and oriented correctly. Next, time to remove the two upper bolts on the case and install the main bracket that looks like this...

That was a little more difficult than I first expected - there is very little area above the transmission tunnel and your hands get awfully big under there when you are trying to ratchet on things and get everything connected!

The passenger side attached pretty quickly but the driver's side was a bear - that is the side where all of the shifting, hardware, and speedometer cable go. I had to make some adjustments but as you can see at least the overdrive lockout lever still moves freely. Glad I got that one corrected on the bench!

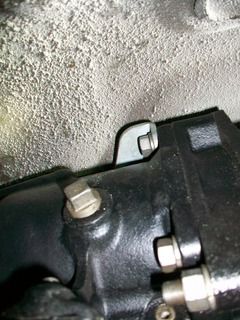
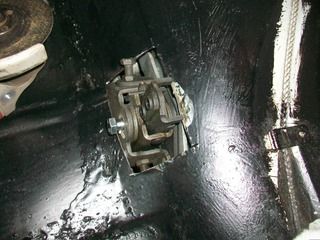
Next came this bracket...
It attaches up front at the top bolt that secures the solenoid to the transmission...
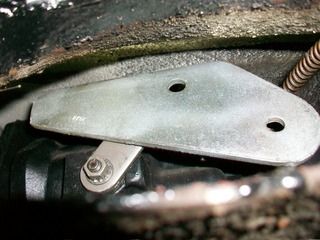
The two holes at the rear of this plate line up with the main bracket and both holes are the attachment points for the shifter itself. This part went well - no hangups.
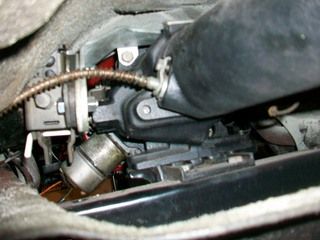
Now we come to the shifter. The first thing I did was to put the neutral rod in place (white, L-shaped rod in the photo below)
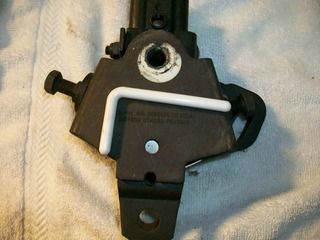
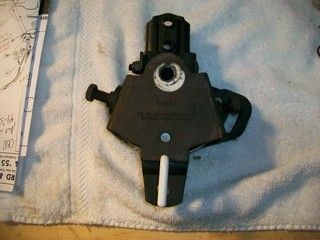
This white rod needs to be in place when you are lining up your shifting rods that go from the shifter to the transmission levers at the side cover. Also, keeping the rod in place while adjusting the TILT of the shifter (towards the dash or towards the front seat) is an added bonus.
Next comes the hack job on the floor pan. The idea is that the shifter needs to be installed on the bracket, then using a punch mark the center of the hole you need to cut so that the shifter arm can be connected through the floor right? WRONG - not with this setup. The clearance is so small that the Syncro Loc could not even be attached to the bracketry.
Great....
What to do? I decided to orient myself from above by drilling two holes. One at the pivot of the shifter (center line of shifter) and one immediately above the second hole on the bracketry (this is where the slot is located on the Syncro Loc). This took forever, but I wanted to be sure I cut out NO MORE THAN WAS NECESSARY to install the shifter. Check out the picture below...
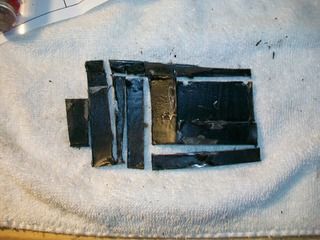

Those are all of my cuts. I started with the large rectangle you see, but each time I kept finding out that something else interfered, one of the stop bolts got in the way, etc. Crazy stuff I know, but I ended up with what I think is the smallest footprint for the shifter going through the floor pan.
more in the next post
